Rain, Roof, and Ruin? 10 Emergency Steps to Stop the Damage Fast
A roof leak, burst pipe, or sudden plumbing failure can turn your peaceful home into a stressful mess—fast. Whether it's a drip in the ceiling or water gushing across the floor, how you respond in the first 24 hours can mean the difference between minor inconvenience and thousands in damage.
That’s why we’ve created this Emergency Leak Playbook, a practical step-by-step guide to help you take immediate action, minimize damage, and protect your home, health, and belongings.
Why the First 24 Hours Matter
Water damage moves quickly. Within minutes, water can:
Soak drywall, insulation, and flooring.
Short-circuit electrical components.
Create the perfect environment for mold.
By the 24-hour mark, mold may begin to grow, structural damage worsens, and costs climb significantly. Acting fast is critical.
Step 1: Stop the Water at the Source
The very first step is to stop more water from coming in.
If it’s a burst pipe:
Locate and shut off the main water valve immediately.
This is typically located near your water meter, basement, or exterior wall.
If it’s a roof leak:
Use buckets or containers to collect the water.
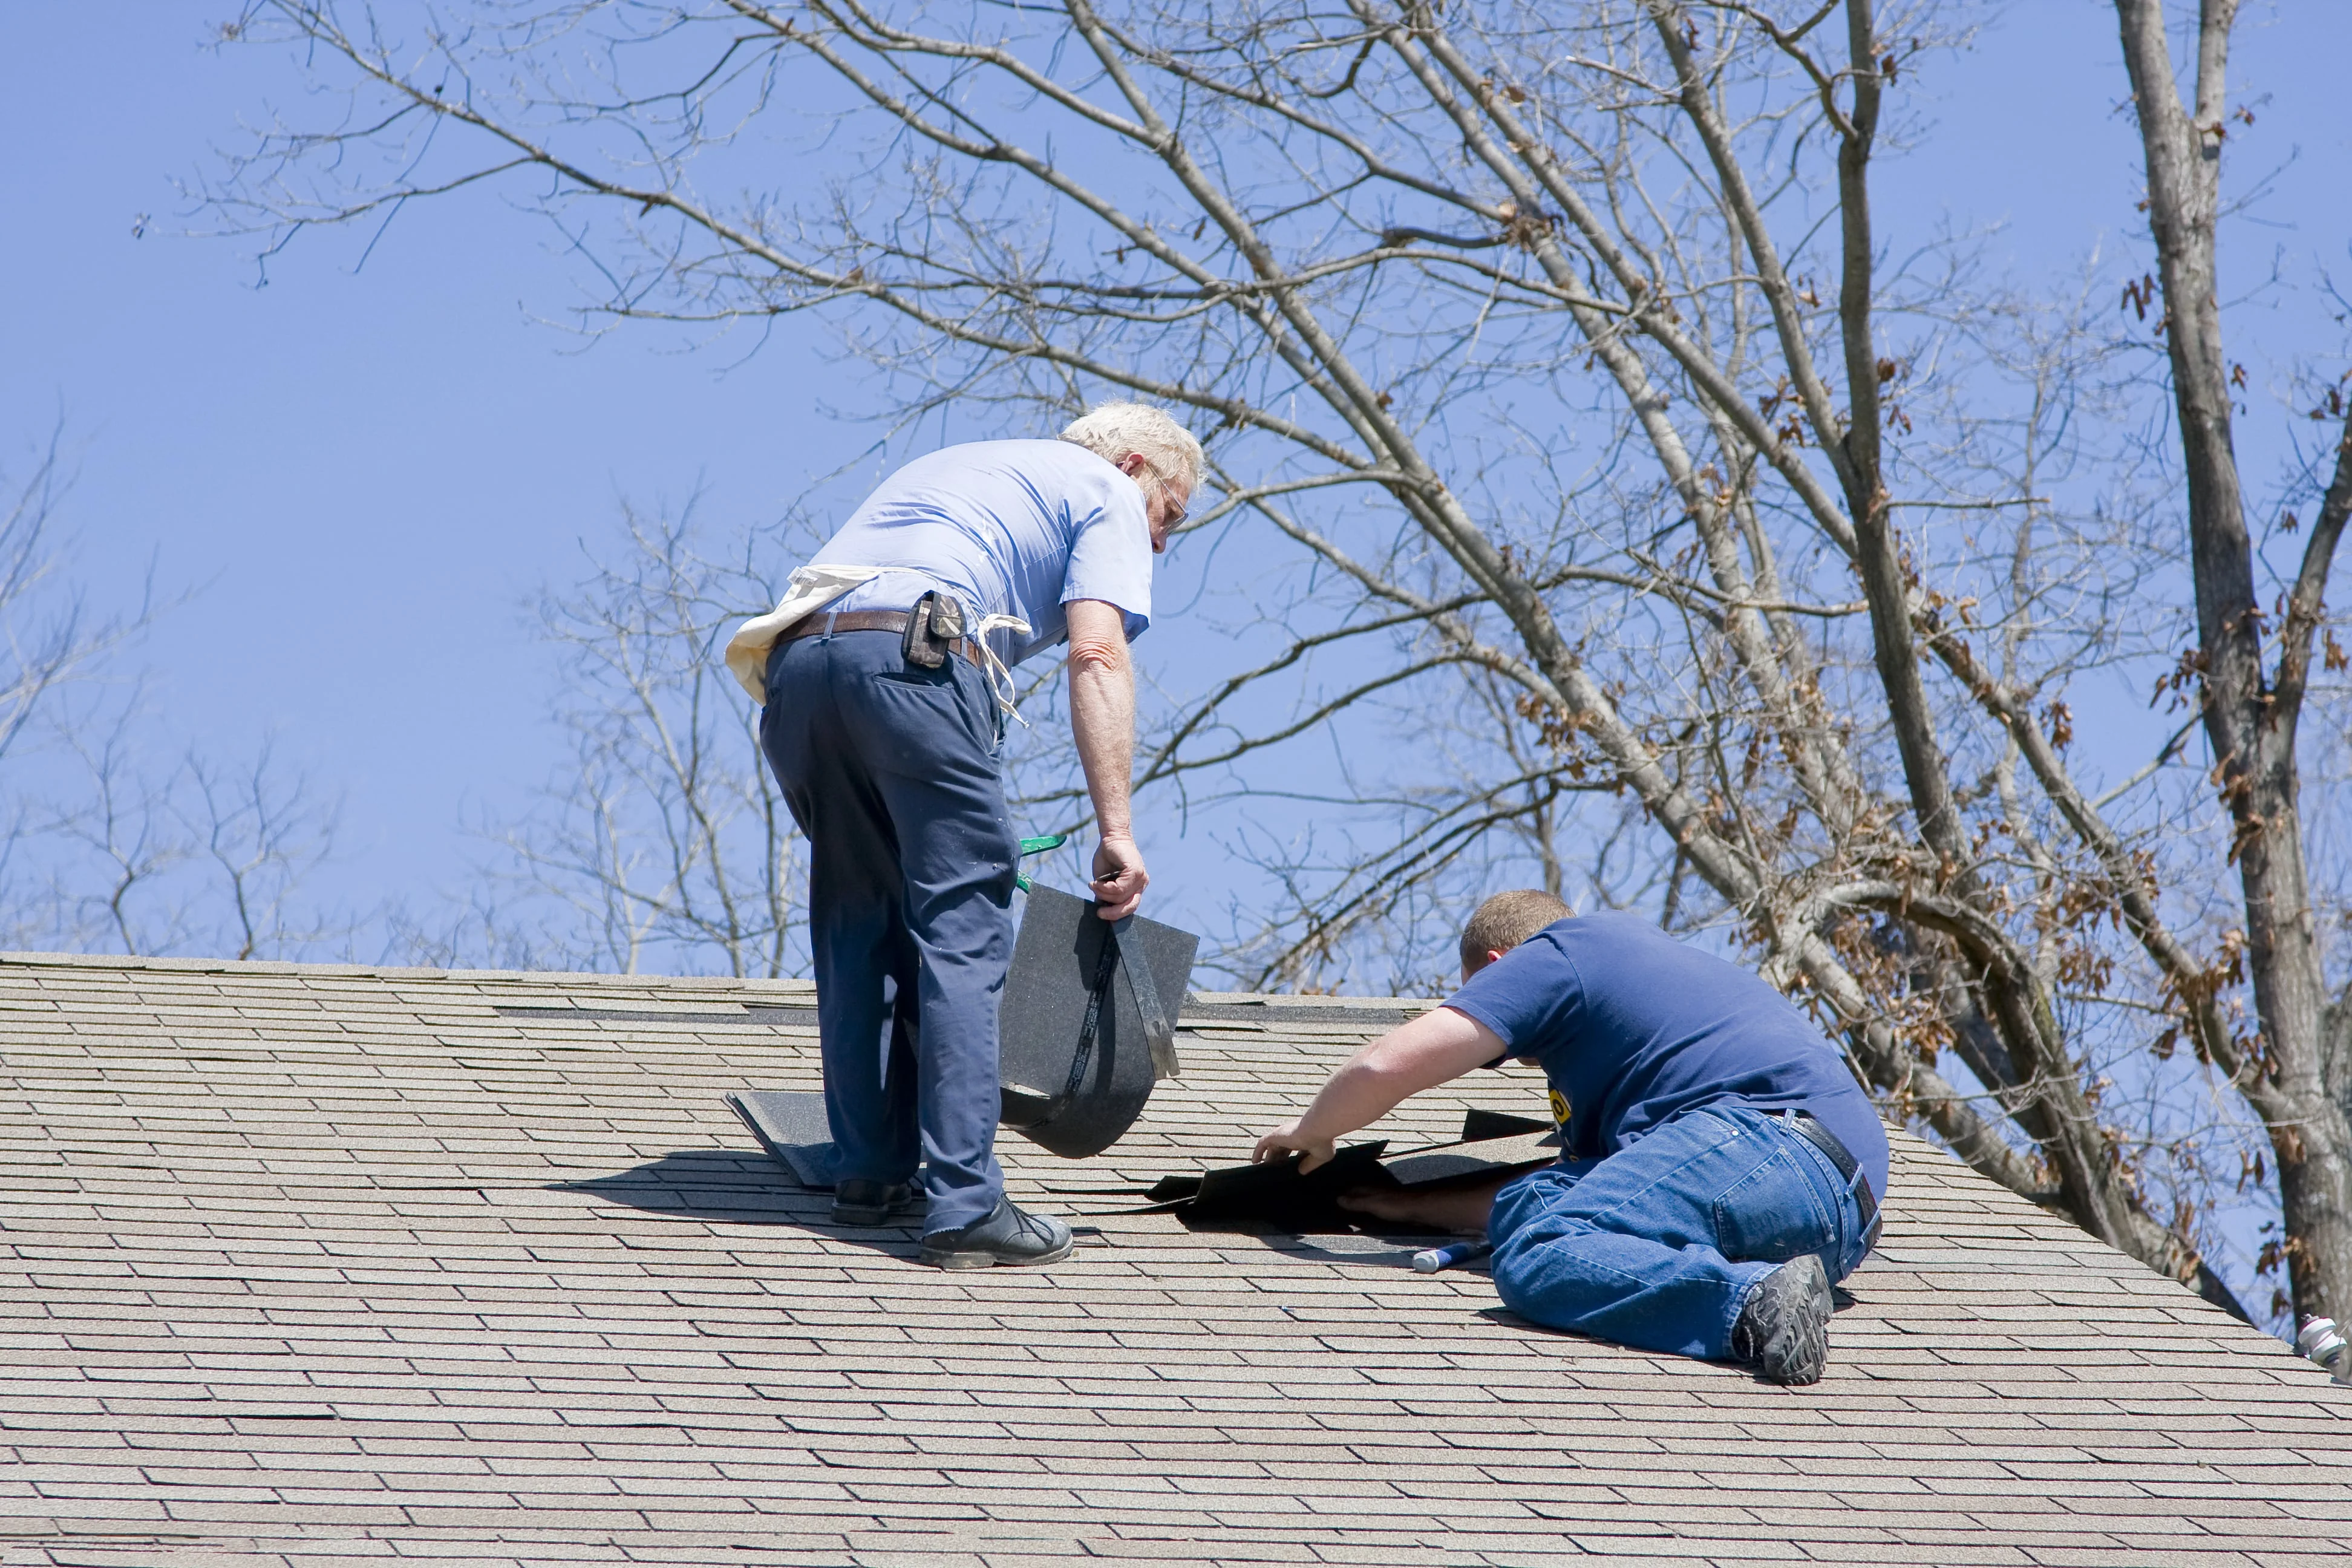
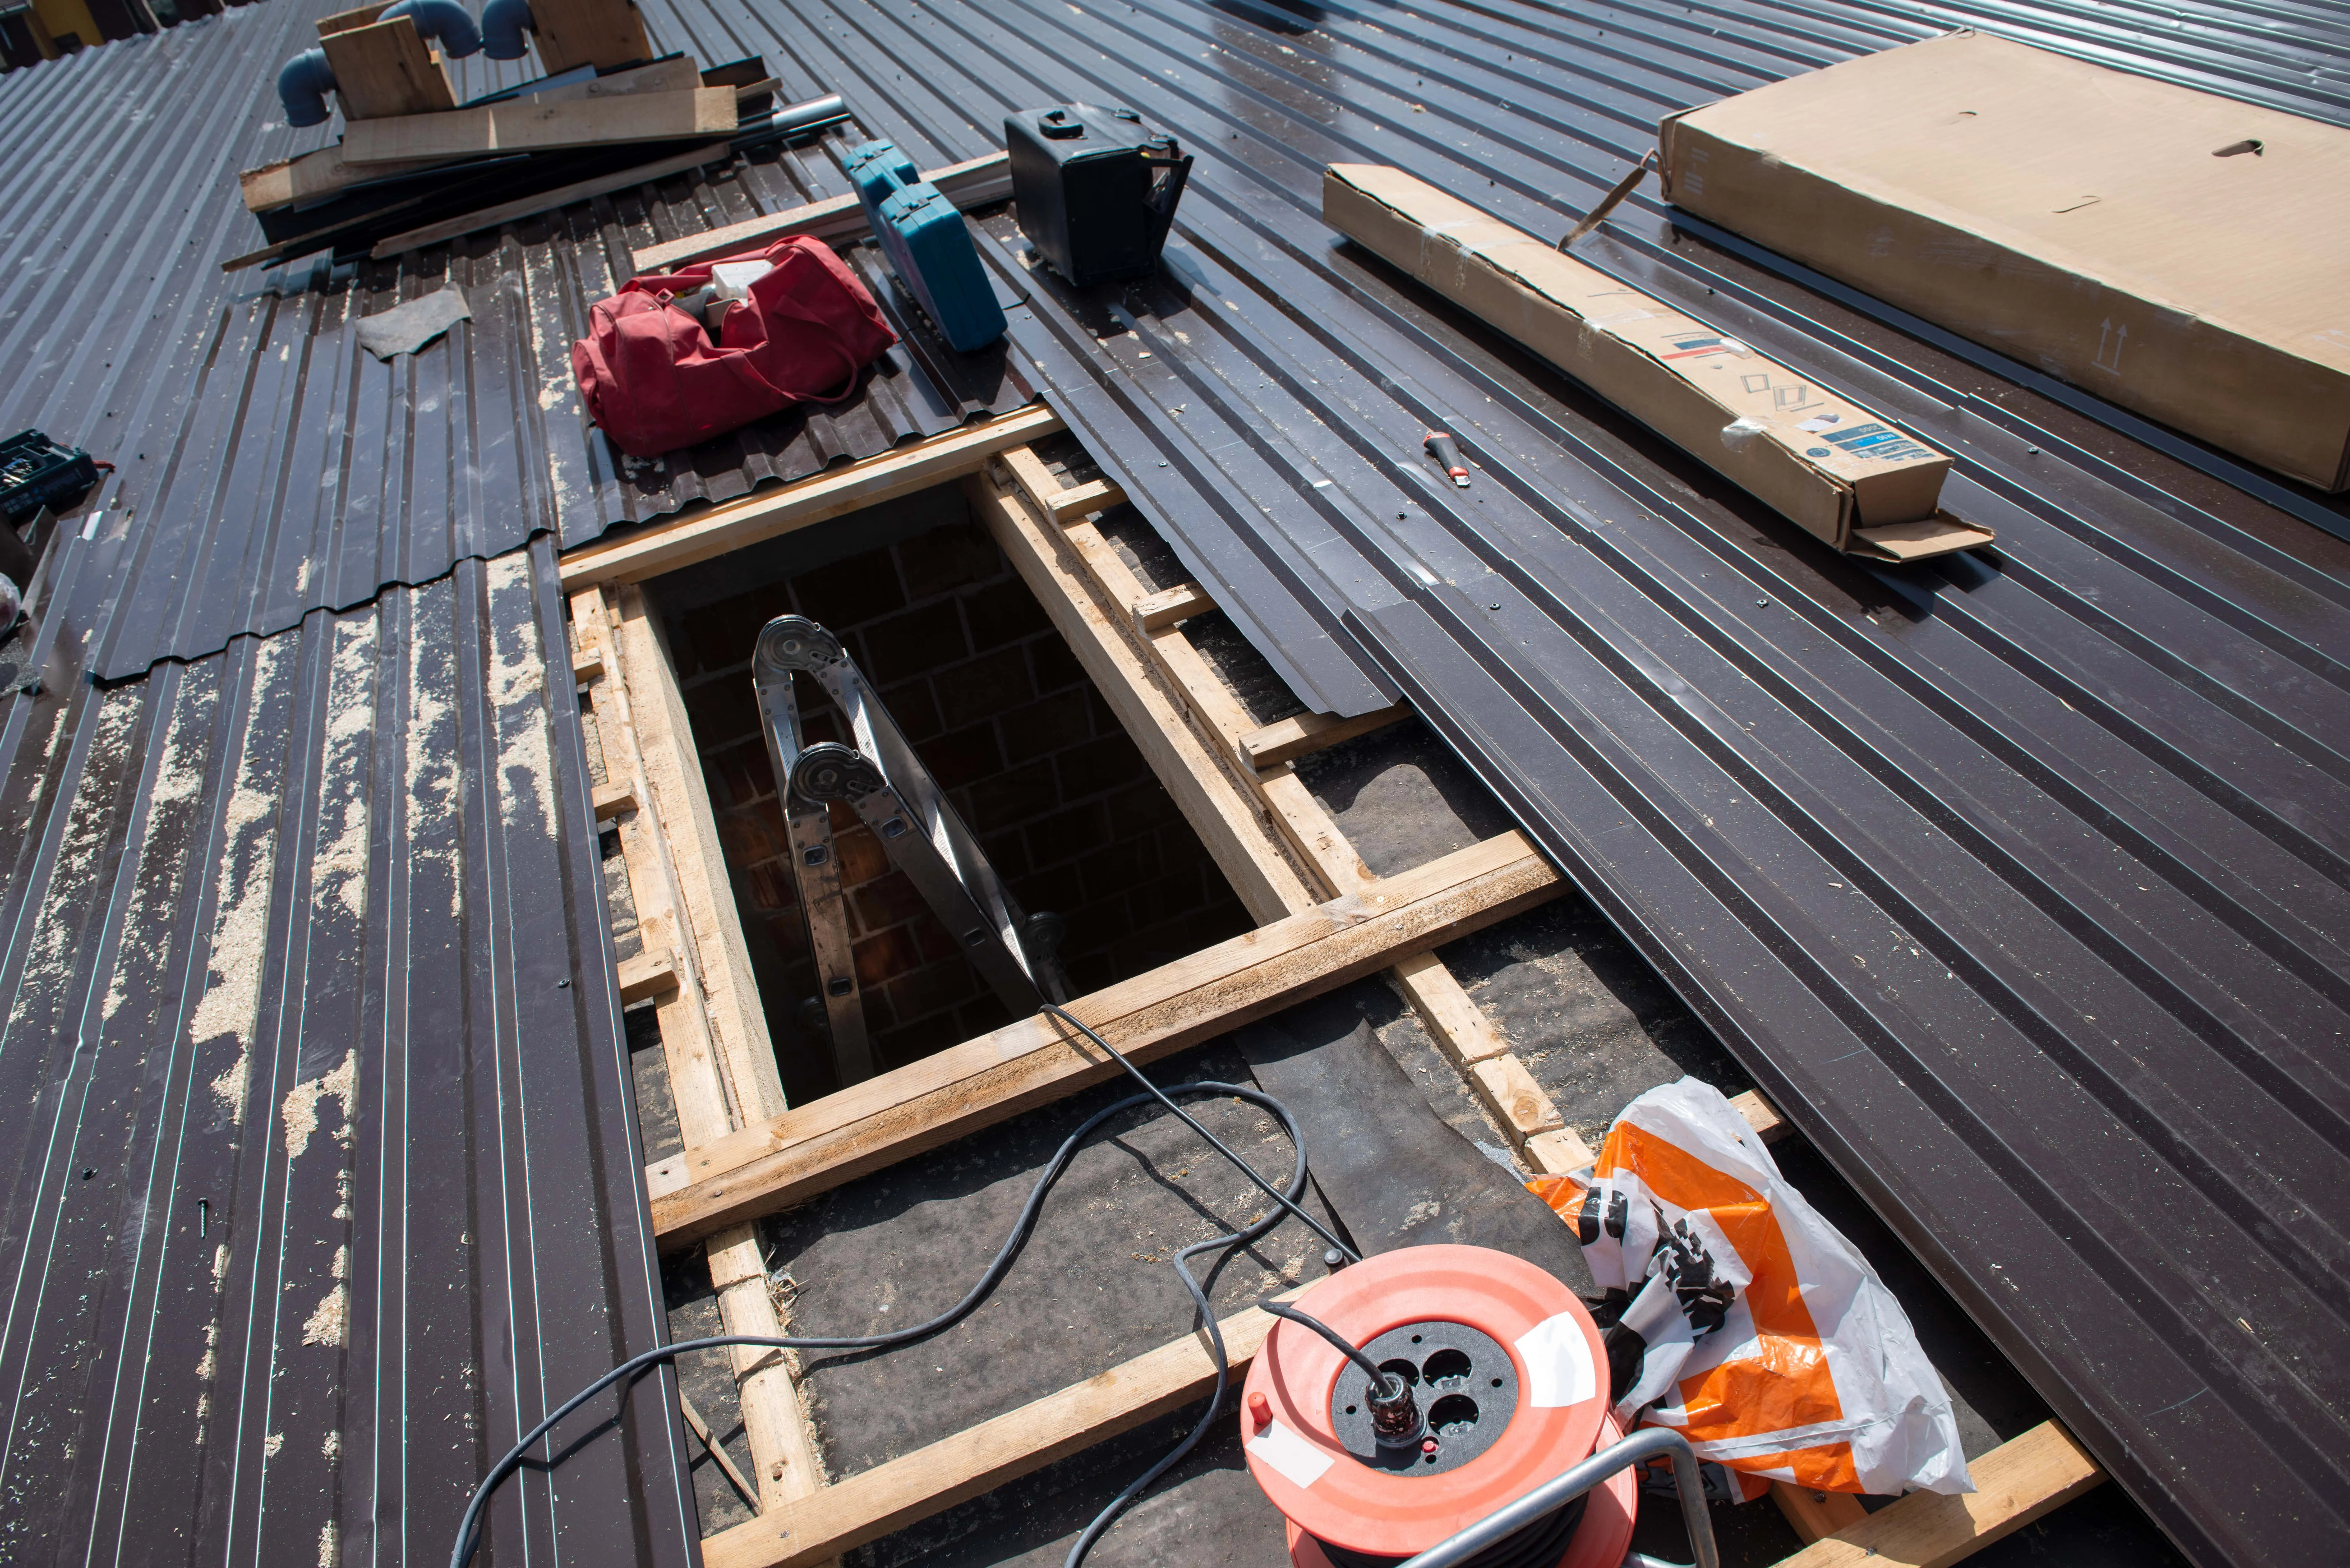
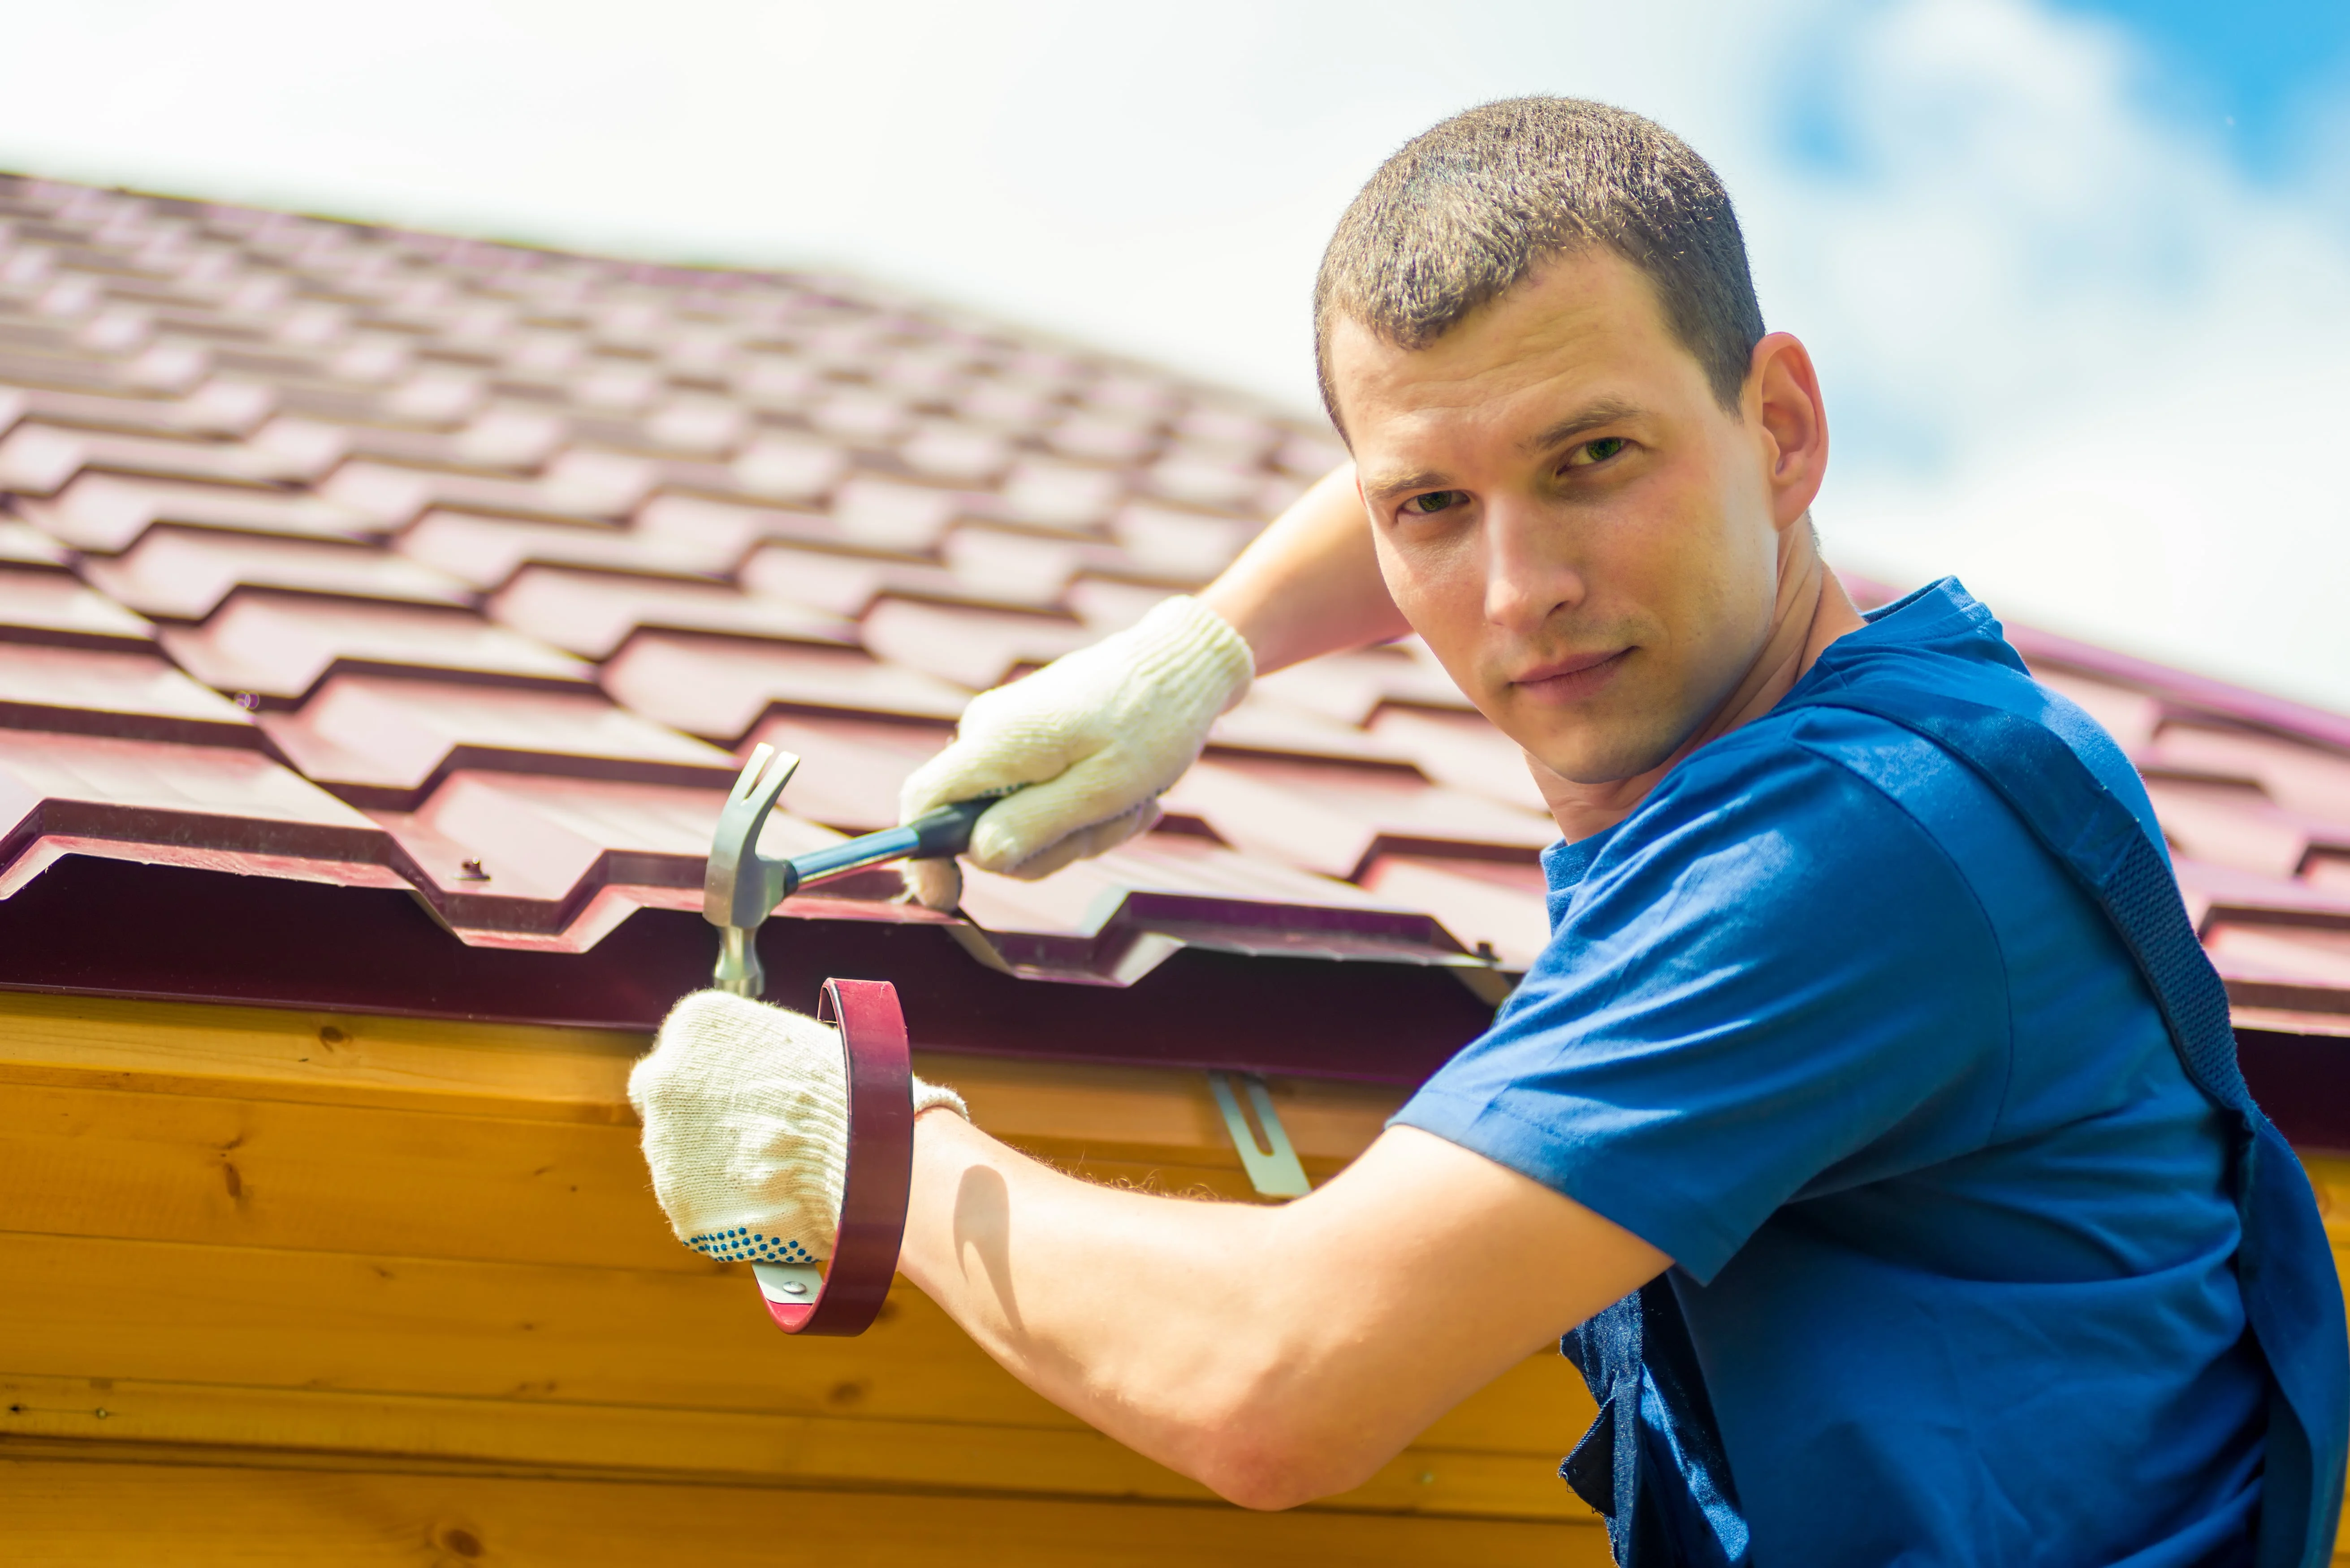
Try to temporarily patch the hole with roofing tape, tarp, or waterproof plastic sheeting.
If safe, inspect the roof or attic to identify the leak location.
If it’s an appliance or plumbing fixture:
Unplug the appliance and shut off the individual valve (if possible).
Disconnect hoses to isolate the leak.
Pro Tip: Everyone in the household should know where the main water shutoff is before emergencies occur.
Step 2: Turn Off Electricity in Affected Areas
Water and electricity are a deadly mix.
If water is leaking near any electrical outlets, light fixtures, or wiring:
Cut power at the circuit breaker to that section of the home.
Never step into standing water until you’ve shut off power.
If you’re unsure or the panel is inaccessible due to flooding, call an electrician immediately.
Step 3: Document the Damage
Before you begin clean-up, take photos and videos of the damage. This is essential for:
Insurance claims.
Restoration assessments.
Legal protection.
Include images of:
The leak source (if identifiable).
Water-damaged areas (floors, ceilings, walls, furniture).
Affected valuables or electronics.
Be thorough. Documentation is your strongest evidence for insurance reimbursement.
Step 4: Start Removing Standing Water
Once it’s safe, remove as much water as possible.
Tools you can use:
Wet/dry vacuum (shop vac)
Mop and bucket
Towels or absorbent cloths
Squeegee for tile floors
Speed matters. The faster you remove standing water, the less likely it is to seep into subfloors, framing, or insulation.
Step 5: Protect Your Belongings
Move furniture, electronics, and valuables away from wet areas.
For items already affected:
Remove rugs and set them outside to dry.
Wipe down wooden furniture and place foil or blocks under the legs.
Remove books, photos, and textiles and air-dry them gently.
Avoid direct heat like hairdryers on delicate items. For documents and photos, freeze them if you can't dry them immediately—this slows mold growth.
Step 6: Dry Out the Space
Even after the water is gone, moisture remains.
Accelerate drying with:
Fans placed around the room.
Dehumidifiers to reduce humidity levels.
Open windows (if outside humidity is low).
Remove baseboards and open drywall if it’s soaked.
Don’t rely on feel or appearance—walls may look dry but still contain high moisture levels.
Tip: If the area smells musty after 24–48 hours, you likely have lingering moisture or early mold growth.
Step 7: Call a Water Damage Restoration Professional
Not all leaks require professional help—but serious ones definitely do.
Call in an emergency water damage restoration company if:
The leak involved contaminated water (sewage or storm water).
There's extensive drywall, insulation, or flooring damage.
You notice mold or mildew.
You're unsure how far the water has spread.
These pros have industrial-grade dryers, thermal imaging cameras, and moisture meters to fully evaluate hidden damage.
Step 8: Contact Your Insurance Company
File a claim as soon as possible.
What to prepare:
The photos/videos you captured.
An inventory of damaged items with estimated values.
Receipts or proof of ownership for major losses.
Your insurance company will guide you through:
Scheduling an adjuster visit.
Claim coverage and limits.
Reimbursement timelines.
Important: Do not throw away damaged items until your adjuster has reviewed them.
Step 9: Schedule Permanent Repairs
Once the emergency phase is over, assess what long-term repairs are needed.
This might include:
Replacing roofing material or flashing.
Installing new drywall, insulation, or flooring.
Repainting or refinishing affected areas.
Servicing or replacing appliances that caused the leak.
Hire licensed contractors for structural or roofing work to ensure it meets code and doesn’t void your home warranty or insurance.
Step 10: Disinfect and Prevent Mold
Water can leave behind bacteria and spores. After drying:
Disinfect hard surfaces with a mixture of bleach and water (1 cup bleach to 1 gallon water).
Use antimicrobial sprays on carpets, fabrics, and wood.
Monitor the area over the next 7–10 days for signs of mold:
Musty doors
Black or green spots on walls or ceilings
Increased allergy symptoms in residents
If mold appears, contact a certified mold remediation specialist.
Bonus Tip: Prepare an Emergency Leak Kit
Before disaster strikes, prepare a kit with:
Roofing tape and plastic sheeting
Flashlight and batteries
Wet/dry vacuum
Towels and tarps
Contact list for local plumbers, electricians, and roofers
Insurance policy info
Having this kit ready can reduce panic and save precious time.
Final Thoughts
Emergencies don’t wait—and neither should your response. The first 24 hours after a leak are critical for preventing further damage, saving your belongings, and avoiding mold. By following this playbook, you’re giving your home the best chance at recovery.
Whether it's a roof leak during a storm, a burst pipe in winter, or a faulty washing machine, preparation and quick action make all the difference.
Frequently Asked Questions (FAQ)
1. What is the first thing I should do when I notice a water leak?
The first thing you should do is shut off the water source to stop any further damage. If the leak is coming from a plumbing fixture, turn off the fixture valve. If it's a burst pipe or unknown source, shut off your home’s main water supply immediately.
2. How long does it take for water damage to become a serious issue?
Water damage can start to cause serious problems within the first 24 hours. Mold can begin to grow, drywall may become saturated, and wood can start to warp. That’s why immediate action is critical.
3. Can I clean up a leak myself, or should I hire a professional?
For minor leaks, you may be able to handle the clean-up yourself using towels, fans, and dehumidifiers. However, for major leaks, contaminated water, or hidden damage, it’s best to hire a licensed water damage restoration specialist to ensure everything is properly dried and sanitized.
4. Will my homeowner's insurance cover emergency water leaks?
In most cases, yes, if the leak is sudden and accidental—like a burst pipe or storm damage. However, insurance typically doesn’t cover damage from neglected maintenance or gradual leaks. Always document everything and contact your insurance company promptly.
5. How can I tell if water has seeped into walls or flooring?
Look for bubbling paint, warped flooring, or a musty odor. A moisture meter or infrared camera (used by professionals) can detect hidden moisture behind walls or under floors. If in doubt, call a professional to assess the damage.


